Access control and project roles
Home · Access control and project roles

Goal
This page explains how to administer project members and roles in ProPM Agent using business roles first, not raw permissions.
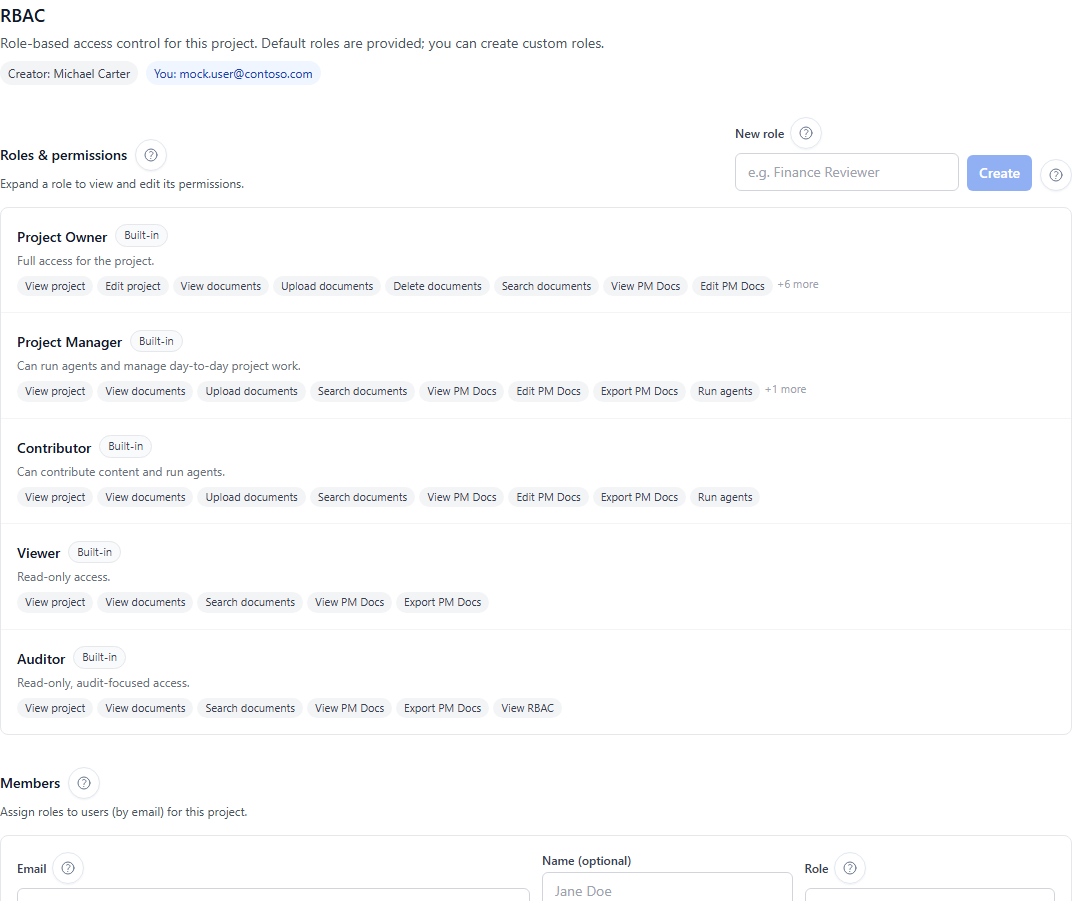
Standard roles
| Role | Typical use |
|---|---|
| Project Owner | Administers project, members, roles and sensitive settings |
| Project Manager | Drives daily work, deliverables, signals and actions according to policy |
| Contributor | Adds knowledge, runs agents and contributes to authorized deliverables |
| Reader | Reads information without modifying the project |
| Auditor | Reviews evidence, runs, lineage and traces according to audit rights |
Add a member
- Open Workspace.
- Open Access control.
- Select Members.
- Enter the member email address.
- Choose a standard or custom role.
- Save.
- Verify that the member appears with the expected role.
Custom roles
- Open Roles and permissions.
- Create a role.
- Use a clear business name.
- Add a description.
- Enable only the capabilities required.
- Save and test with a non-critical user.
Modify or delete a custom role
To modify a custom role, open it, adjust capabilities, save and verify the impact on assigned members. To delete it, first make sure no member still uses it. System roles cannot be deleted.
Guardrails
- You cannot remove your own access from this screen.
- You cannot downgrade your own role from this screen.
- The project creator entry remains protected.
- A system role cannot be deleted.
- A custom role still assigned to members is blocked from deletion.
Technical permissions
Labels such as project:read, agent:run, members:manage, roles:manage or settings:manage may appear in advanced RBAC diagnostics. For daily use, start with business roles and expected actions.